Before I do a show review with all the Jell-O Art, I want to honor all the work I did on the set, props and conveying the narrative through visual cues, to extend all that fun for the future.

Maybe it looks better with the actors in front of it, and it isn't placed as I had envisioned it, but there are a couple of parts I really liked. We wanted to be in space, in two very different parts of it, with styles to coordinate with who we were. On one side we had what we called the Golds, whose ship was made of cardboard and had gold and logos all over it, plus a little graffiti. Their background, which was supposed to be right behind them, was covered with gold embellishment like the Oval Office now is. I really liked their ship. I wrote graffiti on it on stage, and thought about letting people have at it, but i was afraid someone would put a swastika on it and ruin the video. My original plan to have an eagle for a figurehead seemed insulting to eagles. I thought turkeys wouldn't care.

The Pirates, which we changed to Space Buccaneers for a less felonius image, were all about natural materials, with a DIY look as if they had escaped to space early on in the ruin of earth, and built themselves a paradise where they made Jell-O to sell to other space refugees. I made their ship first, out of sticks I had pruned off my apple tree. It was supposed to be closer to the front of the stage as well, but to accommodate the tumbling mat everything had to be moved to the back wall. Not what I had planned, but I can be flexible. I had ideas for sails that also had to be jettisoned, suspended on bamboo poles, which were way too long for the space. The figurehead for that ship was a lot more elegant in my imagination but oh well. I am used to that happening as it has since I was little. What I see in my head is usually beyond my capability to put it on paper. It looked DIY I guess...
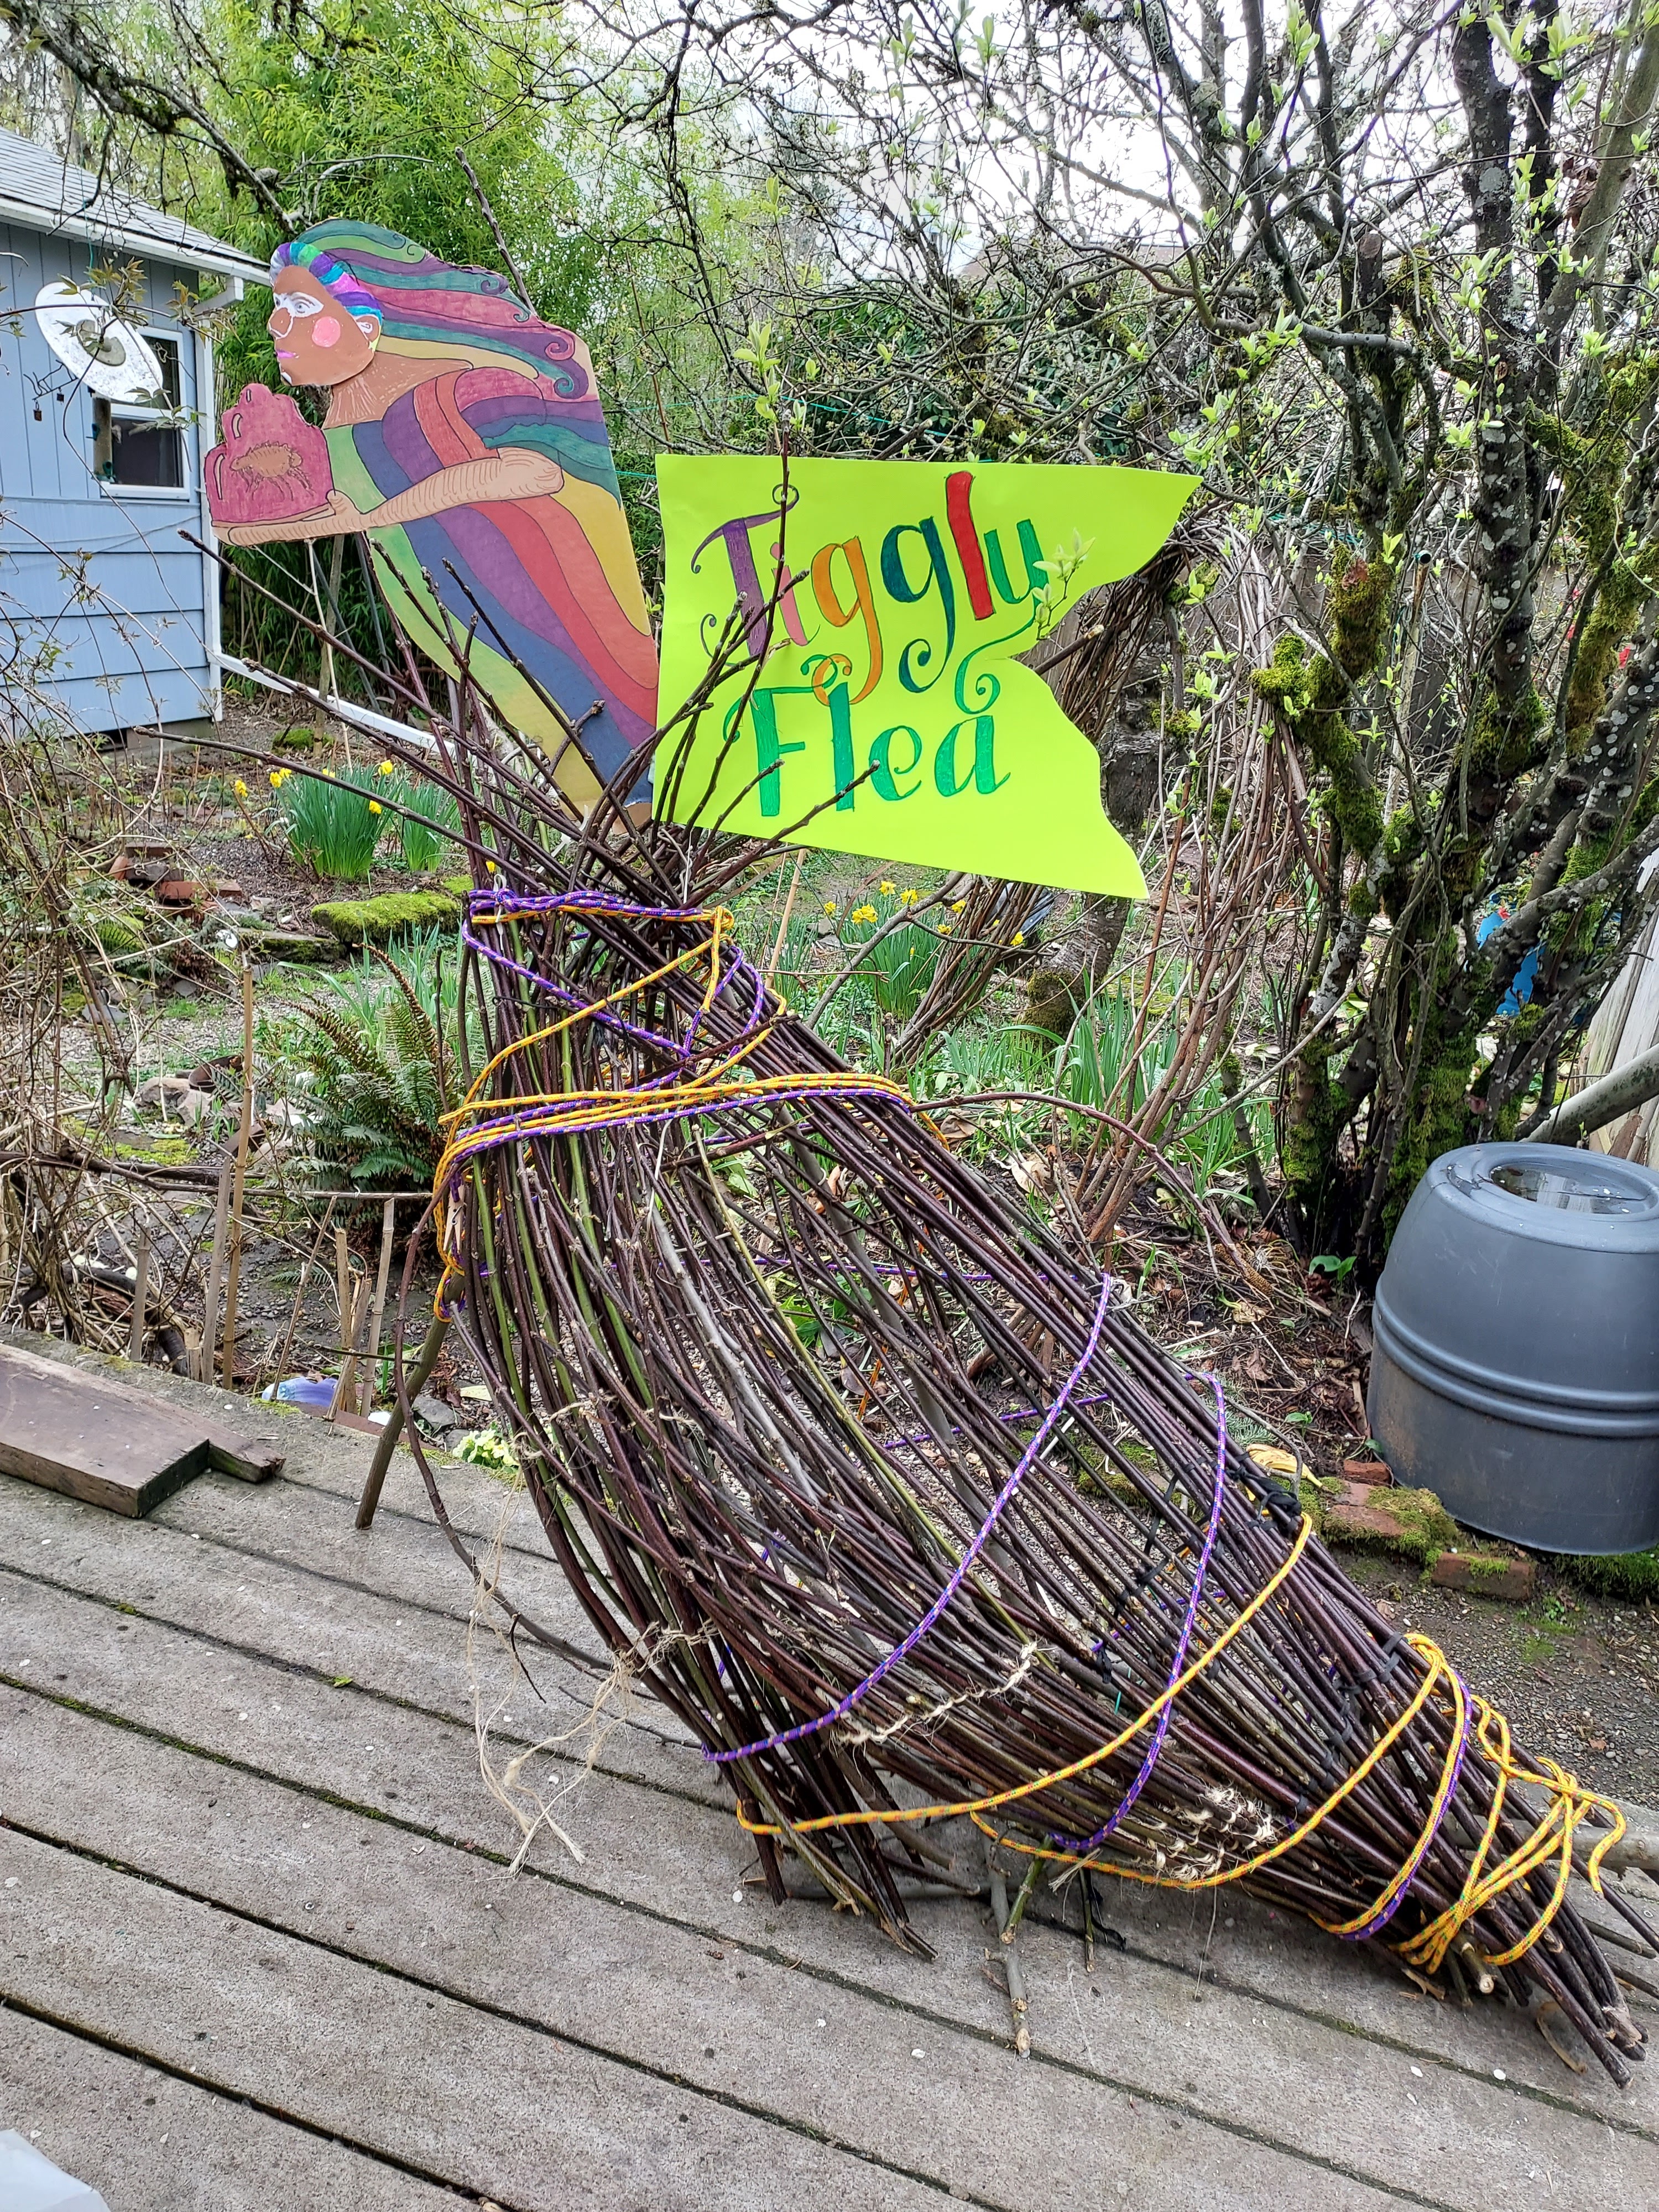
I had a lot of fun making the stick structure. It was nice weather and I did it on the deck way early in the process. The sign didn't get made until the day before the show. There were probably too many pirate props but they needed something to do between songs. It will be interesting to see the video and see if they actually did pirate stuff. I woke up in the middle of the night Friday night and hated the background for the pirates, so went in Saturday and put up the colorful bandanas and that seemed better.
All in all, it was relatively simple, with lights added by various people and some nice work with lighting and backdrop by TJ. Hopefully next year we won't have to squeeze in a tumbling mat. The talented girls were a hit with the audience but it was pretty overwhelming trying to get that to work with all of us humans on stage trying to be at the mics to sing and deliver our lines.
We did pretty well but a week's more of practice would have helped. Lines were delivered out of sequence, dropped altogether, or needed prompting. Song starts were sometimes rough. We don't all sing that well sometimes...it's not great. Our crowd is sweet and loves us but it could have been smoother. And I forgot to get the band on stage before my speech and forgot to tell them they would have to play something while I got changed. They managed, though. Everybody did pretty well for a bunch of amateurs. And I get to have a pirate ship on my deck for a year or two. I'll probably grow beans on it or something.


